The Eyelash Extension Process: A Step-by-step Guide
Have you ever had a new client ask what the eyelash extension process is like? But didn't know how to break down the information in an easily understandable way? Well, we're here to help you communicate all the relevant information to your new clients to help them feel more at ease for their first lash appointment with you. And keep them coming back!
What are eyelash extensions
Lash extensions are semi-permanent fibers, faux, synthetic, mink, or silk fibers glued by hand, one by one by a professional lash artist using a specially formulated lash glue. They are normally applied onto the lash line and not onto bottom lashes.

What are the types of eyelash extensions
Lash businesses carry various eyelash extensions. From curl types to color, length, and type of material used, there are a lot of choices to create a specific look. The types of eyelash extensions are:
- Classic lash extensions
- Hybrid lash extensions
- Volume lash extensions
- Mega volume lash extensions
What material are eyelash extensions made from
Mink Lash Extensions
This is one of the most common animal fur materials. They usually come from the tail fur of Chinese minks and Siberian minks. The most premium one is from Siberian minks.
If you are new to eyelash extensions, having mink lashes might be the one for you. It gives a natural look. The best thing about mink extensions is they are lightweight and fluffy.

The drawback of this type of extension is they are made from animal fur. If you have allergies or sensitivity to animal fur or any ethical concerns regarding how these extensions are handled, mink eyelash extensions are not for you. They are also on the expensive side.
Sable Lash Extensions
For finer and fluffier lashes, sable lash extensions, like LBLA Royal Sable Lash, are a great option. It is the lightest possible material for lash extensions available.

Just like mink extensions, if you have allergies to animal fur or any ethical concerns, sable lash extensions are not for you.
Fox Lash Extensions
This type is very soft and has a reddish tone which makes it very on-trend right now. They are lightweight and give a natural look.

Some drawbacks are they need a lot of upkeep. These extensions must be permed to give them a curl. If you don’t like to iron your lashes or have allergies to animal fur or any ethical concerns, this is not for you. In addition, they are not always available in lash salons.
Faux Mink Lash Extensions
A great alternative to the expensive mink extensions. Faux mink lash extensions are 100% human-made. If you want that natural and fluffy look you get from mink extensions but allergic to animal fur, faux mink extensions are the way to go!

Silk Lash Extensions
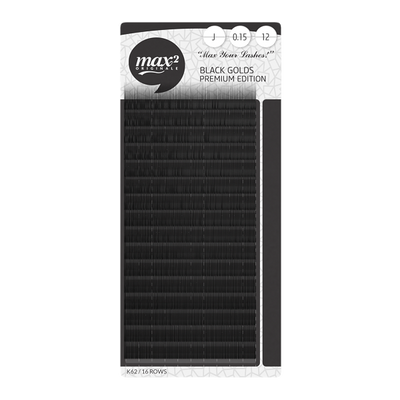
This type is great for parties if you are going for a special occasion look. Silk lash extensions, like Max2Originale Silk Single Length, are on the heavier side and generally not very comfortable for everyday wear.

Synthetic Lash Extensions
This is the heaviest and the least natural-looking of them all. They are a sheen that doesn’t look natural at all. Some people find them too heavy for their eyelids.

There are a lot of types of lash extensions, these are just some of the most common ones.
What is the application process
First and foremost, an appointment needs to be booked. Let your client know to show up to their appointment with no make up on or around their eyes.
1. Choosing type and length of lash extension
There are a lot of choices when it comes to lash extensions. This is the process where you can discuss the options with your client. You can recommend options depending on the following:
- Eye shape
- Size of eyes
- Eyelids
- Orientation of eyes
- Eye color
- Natural lashes
- Preference
- Allergies or sensitivities
Eyelash extensions can be applied individually or in a cluster. Clients can choose from a full set or a partial set. A full set is when extensions are applied to natural lashes, individually. While a partial set is where extensions are attached to eyelashes from the middle to the outside of the lash line. The key here is customization. Clients have many choices and all you have to do is help them decide which one suits their taste and needs.

2. Prep the eye area
Lash extension prep is very important. It includes sanitizing your hands. Clients will be asked to wear a lash headband so hair will not be blown to their eyes.
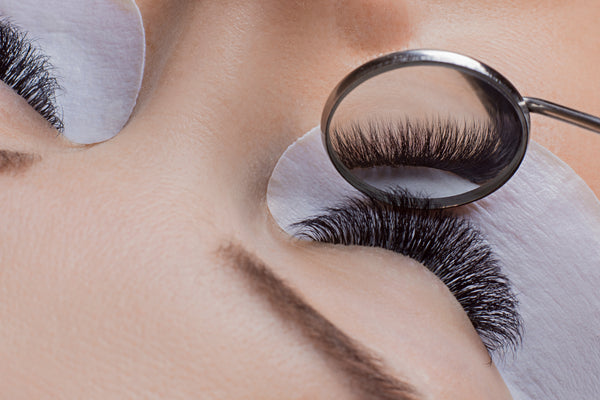
Ask your client to their eyes and make sure not to open them throughout the entire procedure. You will sanitize the eye area using lint-free cotton rounds then put under eye gel pads making sure they don’t get into their eyes. Then, with medical-grade foam tape, you will tape your bottom lashes to ensure they won’t intervene with the procedure.

Put an eyelash primer on a micro swab and dap it gently on their lash line. Around this time, make sure to shake your lash adhesive and put a pea-sized portion on a jade stone. Every 20-35 minutes (depending on the adhesive you're using), put a fresh dot on it. The reason behind this is to cure your lash glue. This will lessen the fumes coming out from the glue which can cause eye irritation.
The last step on our eyelash prep is sanitizing the eyelash tool including the most important one, the tweezers.
3. Application of each extension
This is where all the action happens. Don’t worry, clients can relax by chatting with you, listening to music, or taking a nap. All they need to do is lay down, keep their eyes closed, and relax.
Using lash tweezers, separate all their natural lashes individually. Then apply one lash fan to every one natural lash. Lash mapping will also be helpful in this stage. This will make attaching extensions easier and even.

Next, put every lash one by one by hand using a tweezer. Then dip one end on the lash adhesive and apply it to their natural lashes. Throughout the application, clients will feel a mascara wand. This is normal. Explain to your client you will need to brush their lashes every now and then to make sure each eyelash is separated.
This whole process of attaching extensions will take 1-4 hours depending on the type of eyelash extension chosen.
4. Drying time
After attaching all the extensions, clients will now proceed to the drying time. Use nano mister to help cure your lashes quicker and lessen drying time.
How long will it take for lash glue to dry? It depends on the adhesive used. Especially if clients have allergies to some ingredients, a sensitive lash glue will be used and it typically takes longer to cure.
5. Remove tape and gel
Once the lash glue is dry, apply a sealer to extend the life of eyelash extensions. Then remove the sensitive tape and eye pads. At this point, let your client know it's safe to open their eyes to see their new set of eyelash extensions!

How long do they last
They last for 4 - 6 weeks depending on how well clients take care of their lash extensions. But they will need to go back for fill-ins at the 2-week mark.
How to care for eyelash extensions
There are a lot of things clients will need to do after their eyelash extensions application. For a more in-depth discussion, check out our previous post on How to Teach Proper Care for Lash Extensions. It talks about all the dos and don’ts you need to know, to prolong your eyelash extensions’ life.


